Installing your Nerf Blazing Bow Adapter is very easy!
This device is created to prevent any type of hard modifications, no need to take the blaster apart. It will have a very snug fitting to allow that nice bang on the Darts inserted once installed. The tight fit also prevents the adapter from falling off during usage and possibly breaking.
HEre we will cover both methods for installing. The first is slightly more difficult.
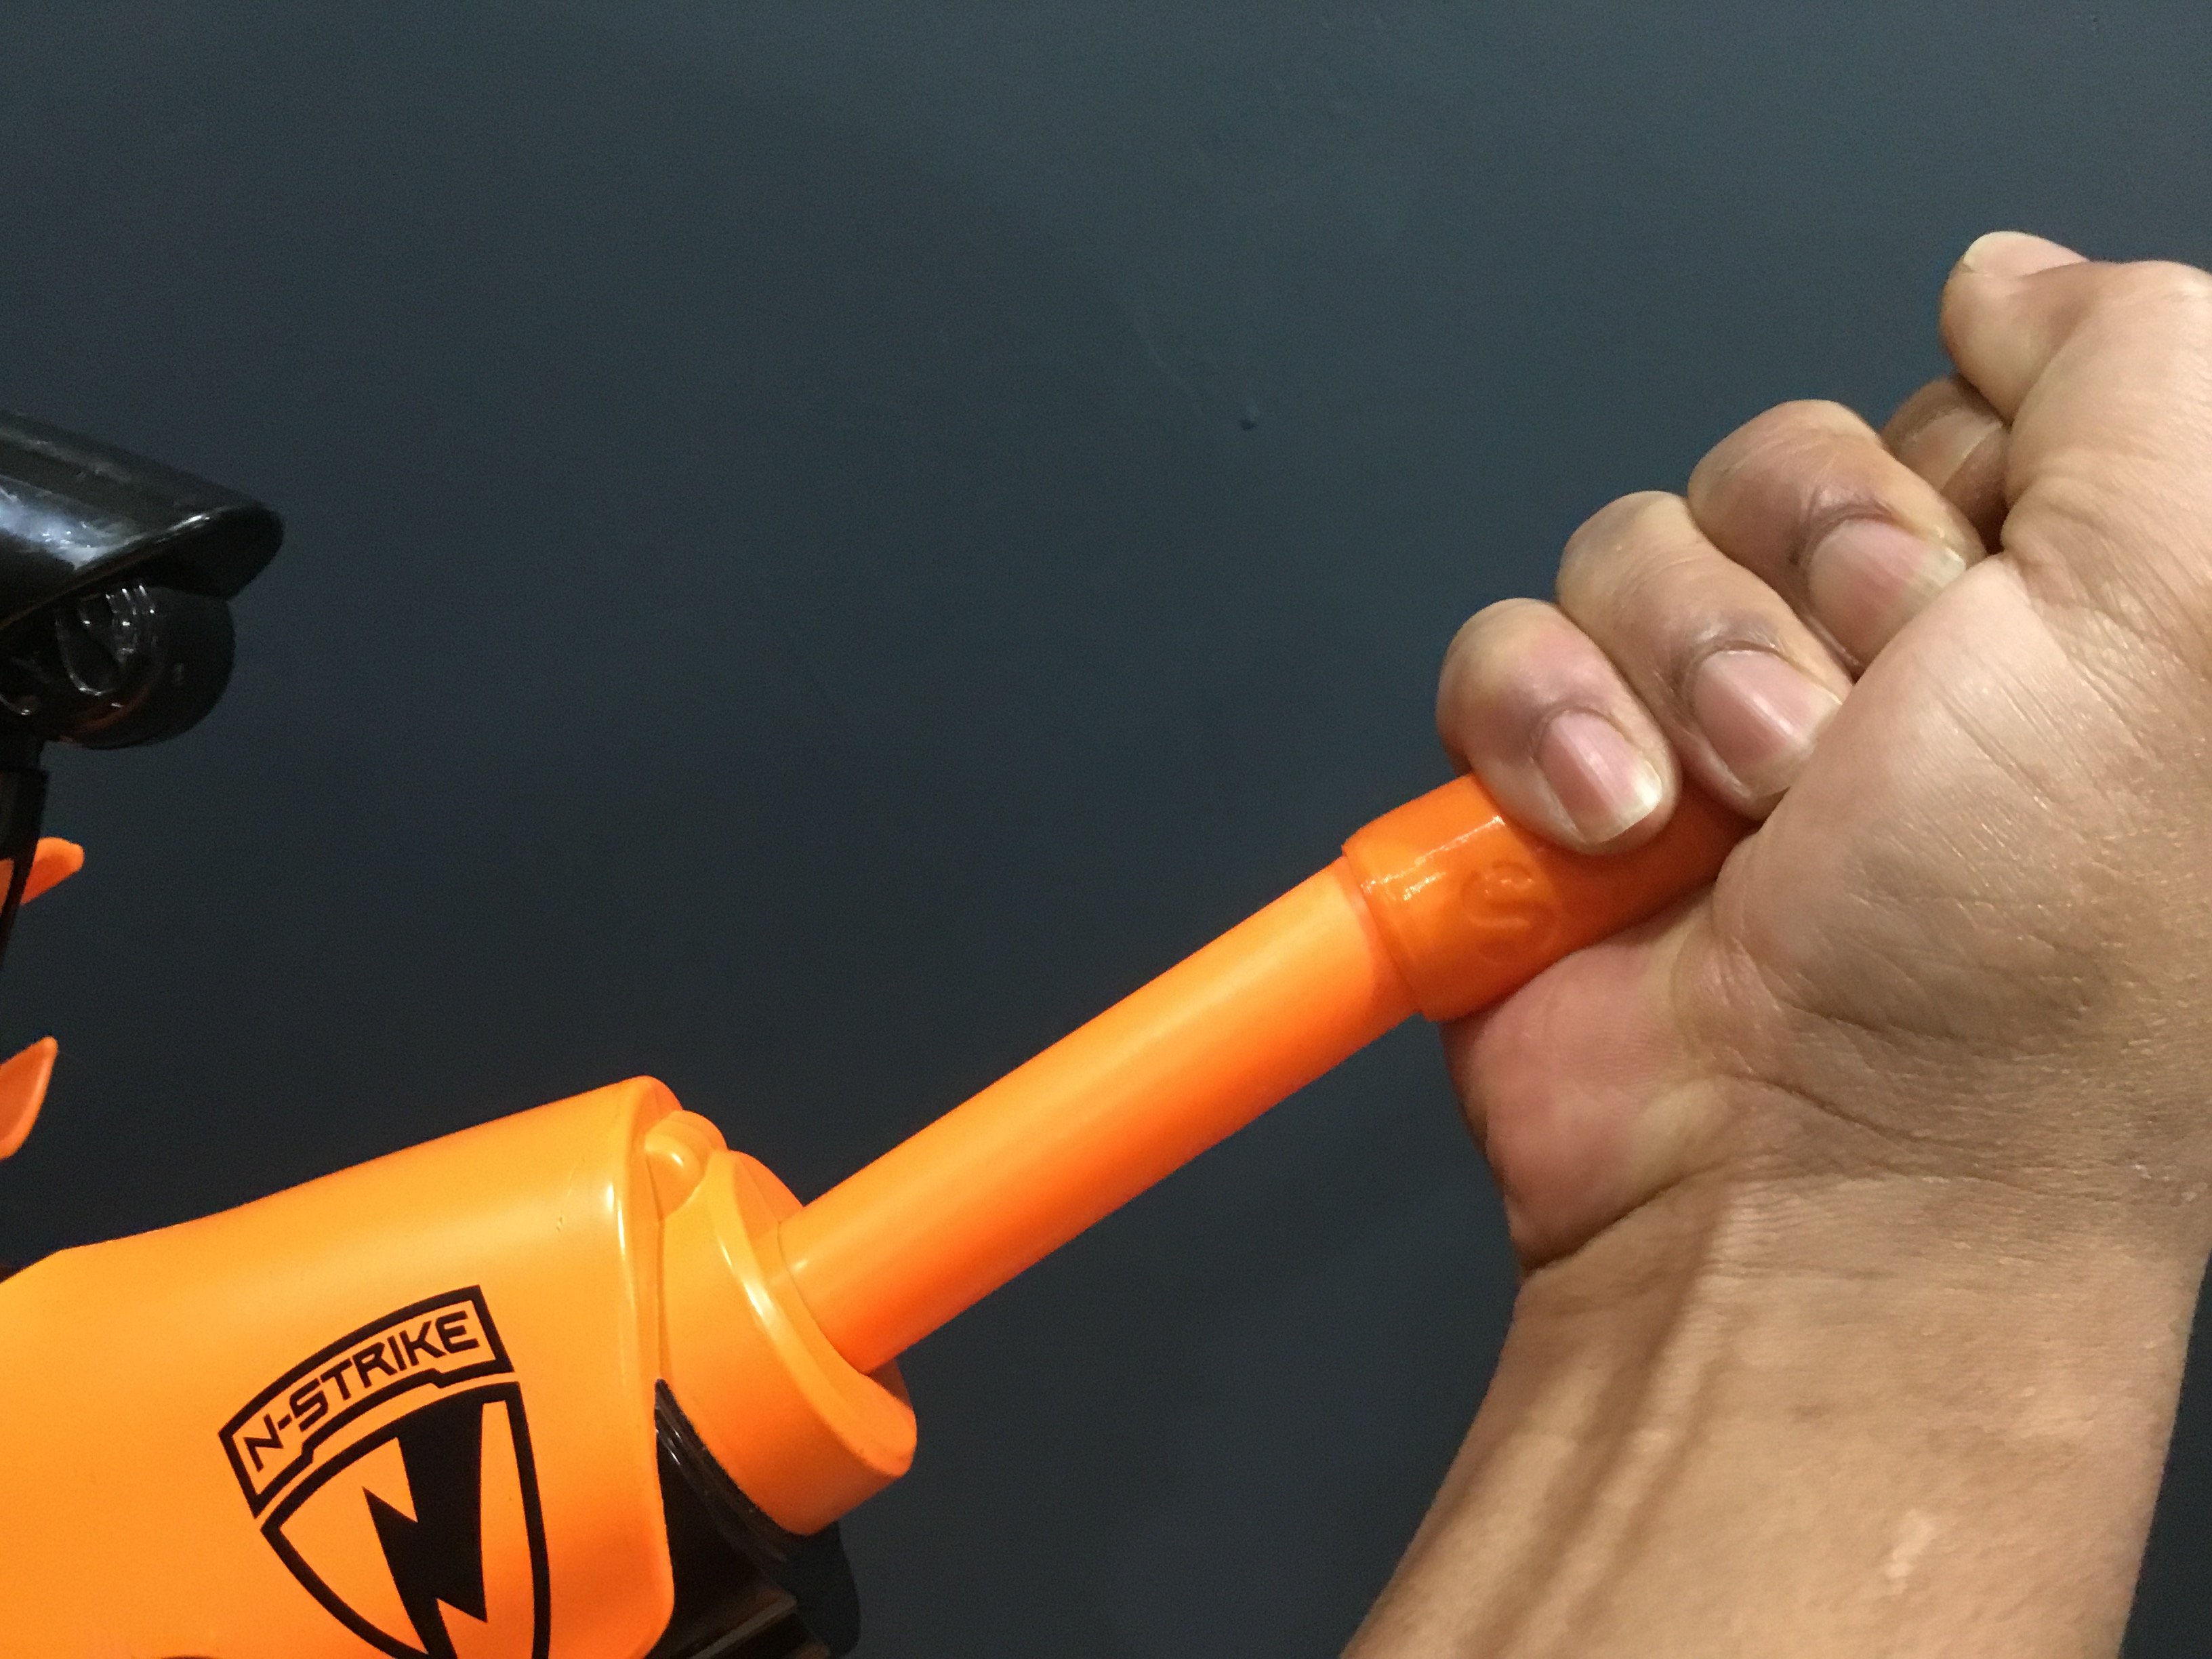
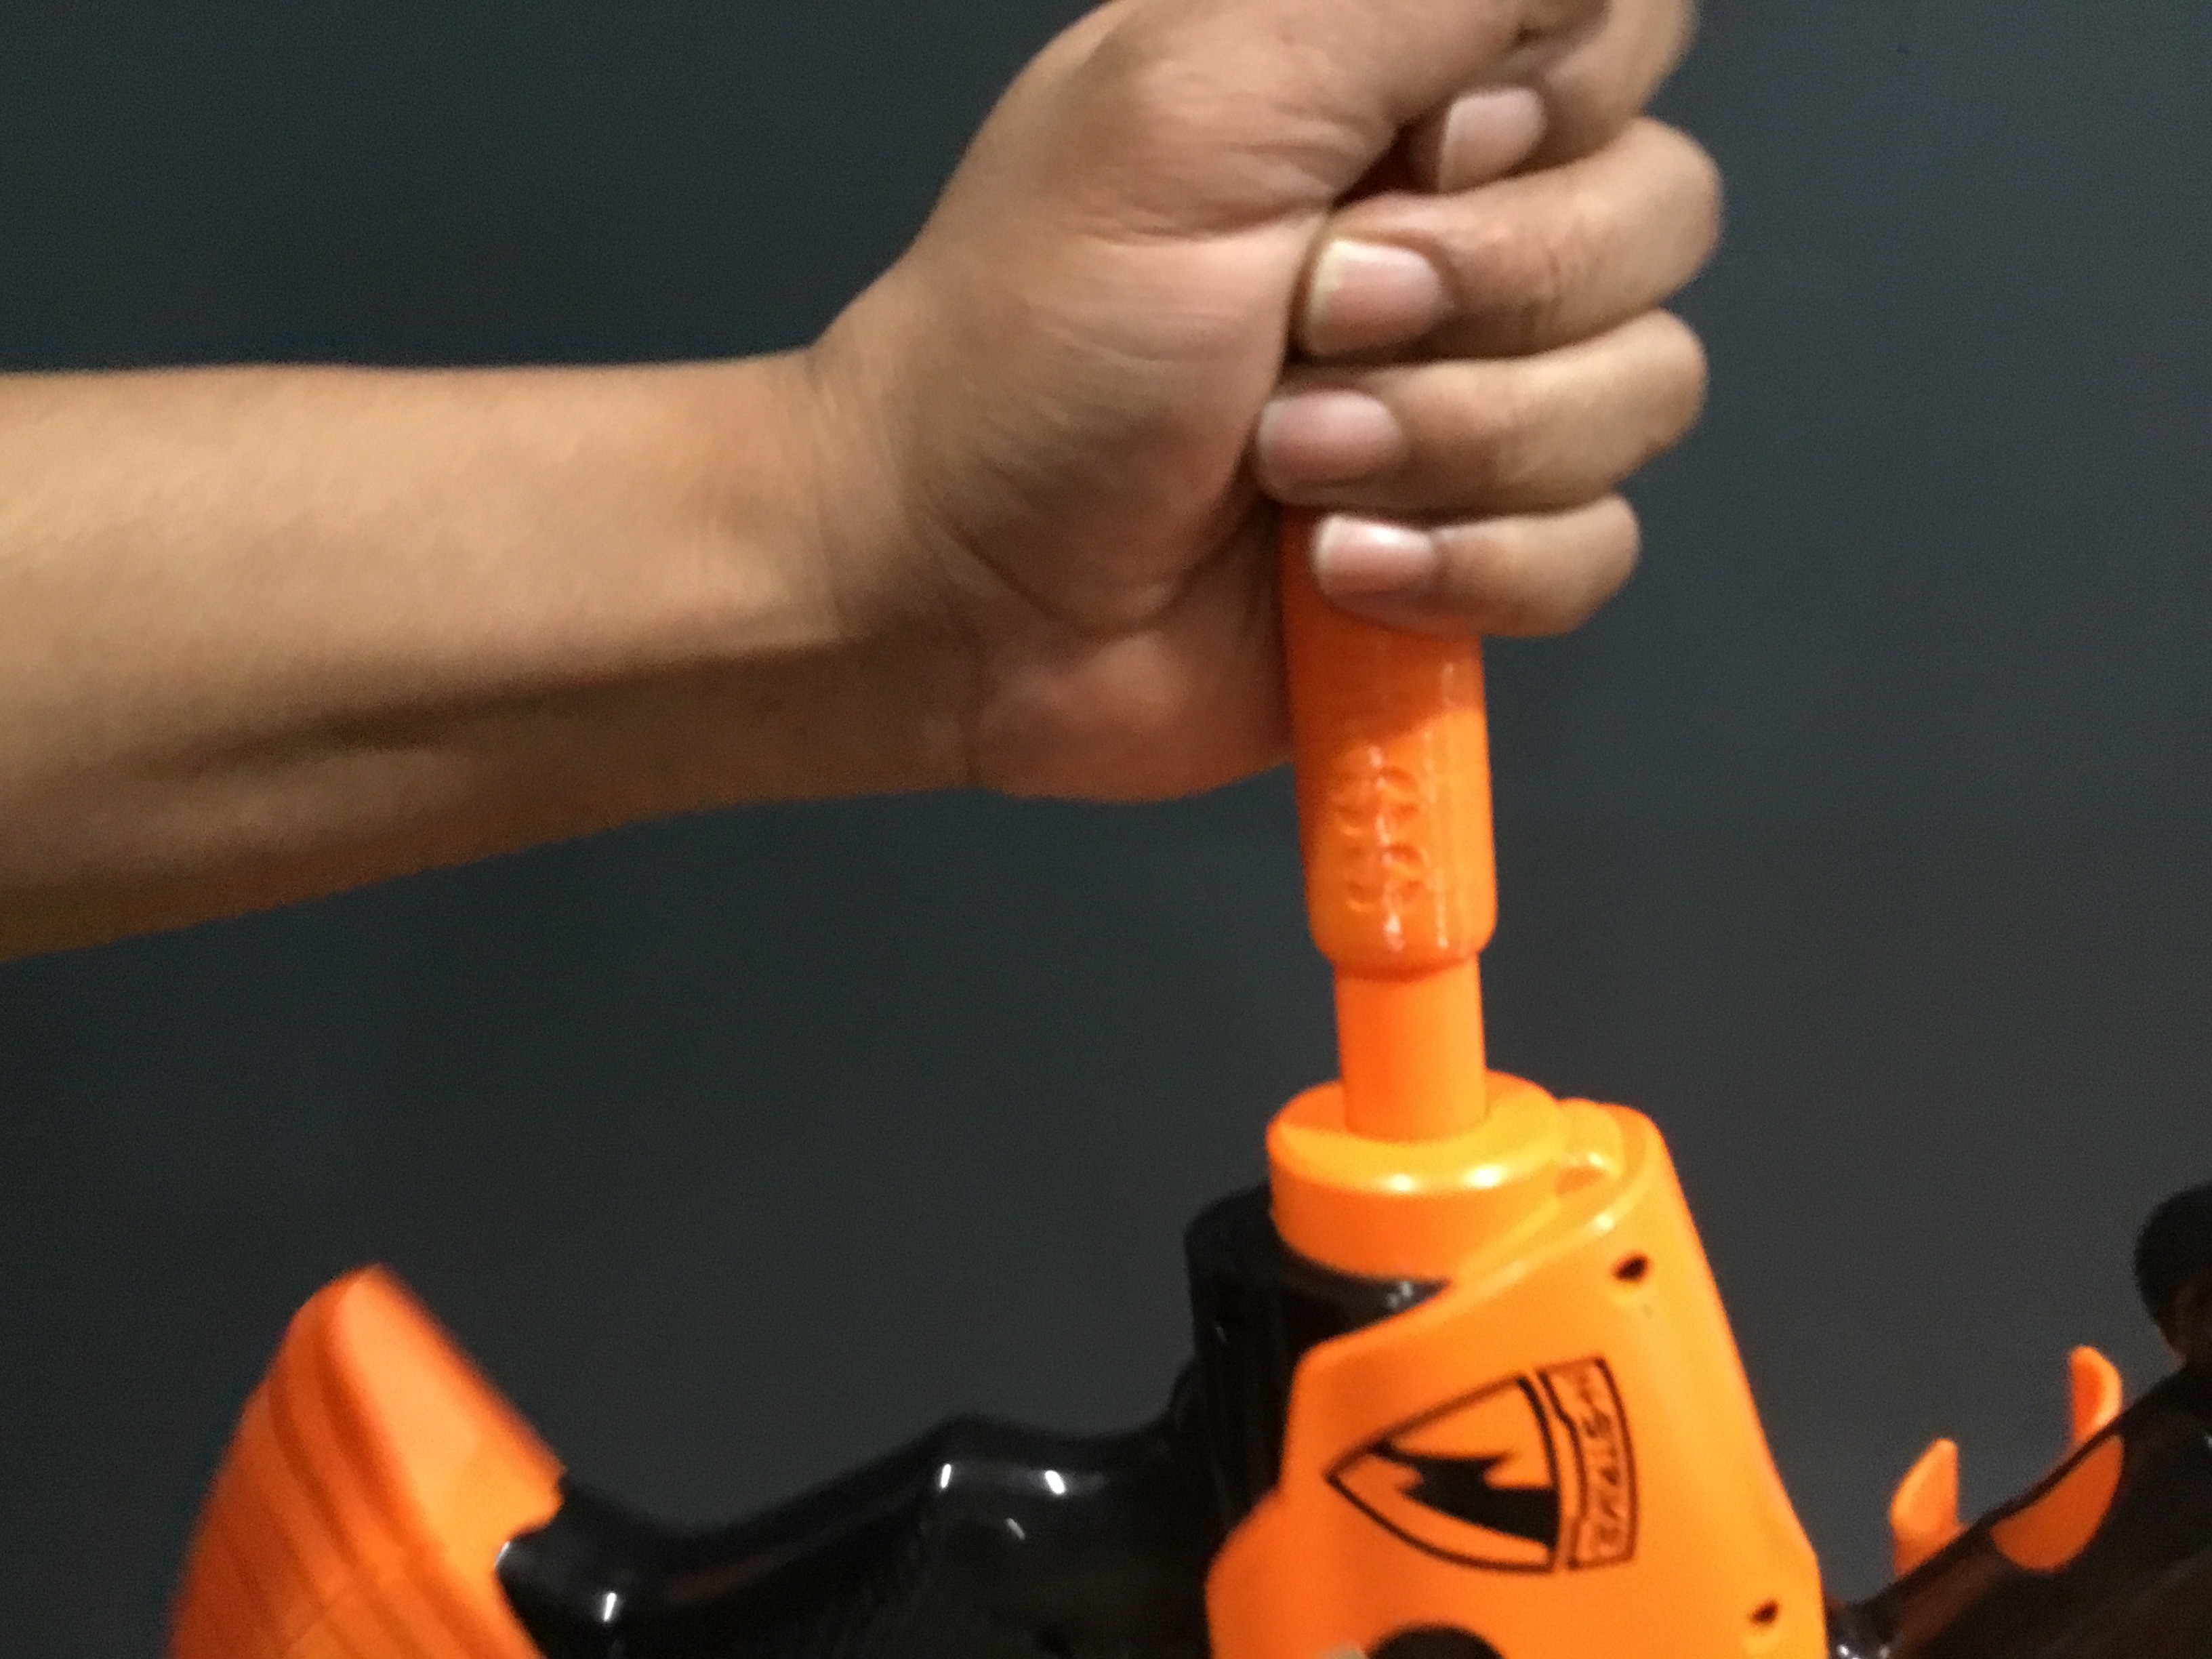
1st method is the obvious, simply add the adapter and twist your hand back and forth while pulling the barrel down to the nerf bow. This is a bit tough, but will work.
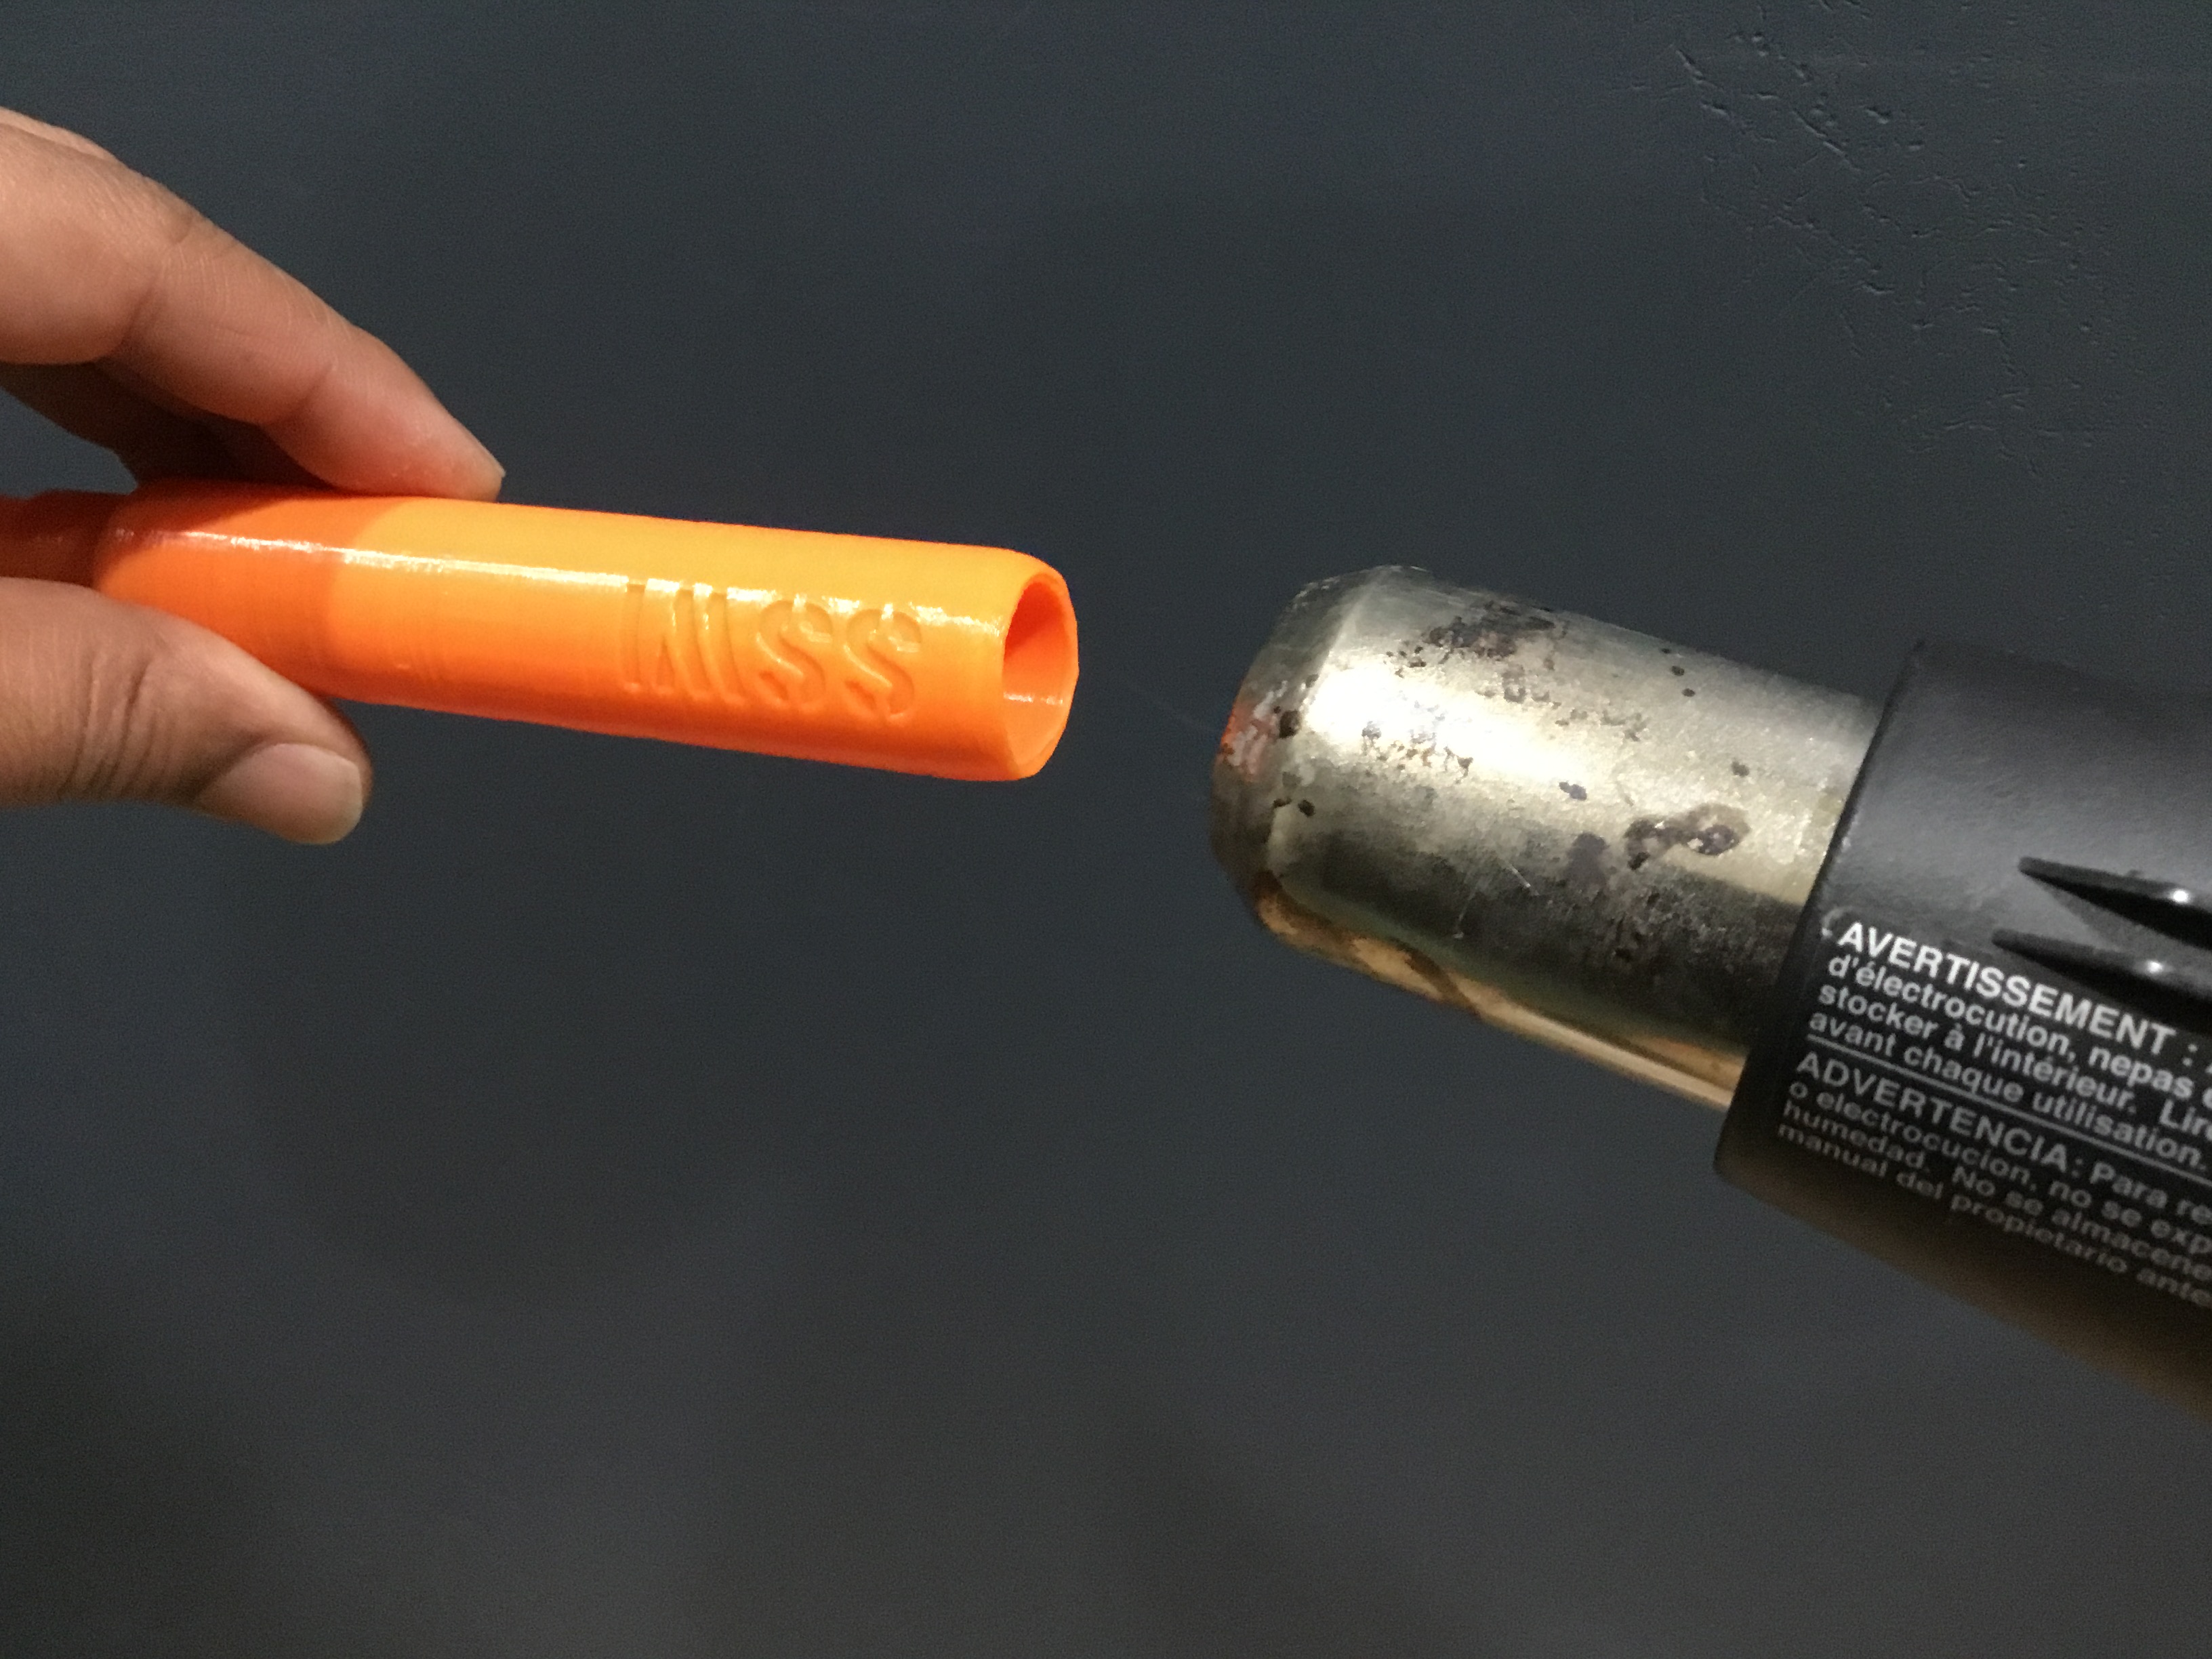
If this method is too tough, the easy route will be to use a heat gun or hair dryer. Simply heat the outer adapter and the inner adapter slightly to soften the part. Please be careful not to heat too much or the device WILL loose its shape and render useless. Heat only enough to slightly soften and slide it on to the nerf bow. IT should slide on like butter and re-shape exactly to your barrel.


 Once Primed, Unscrew all four screw on the Prime panel and remove the top plate as shown below.
  Remove everything in this section. Everything Circled below (You won’t need it).
 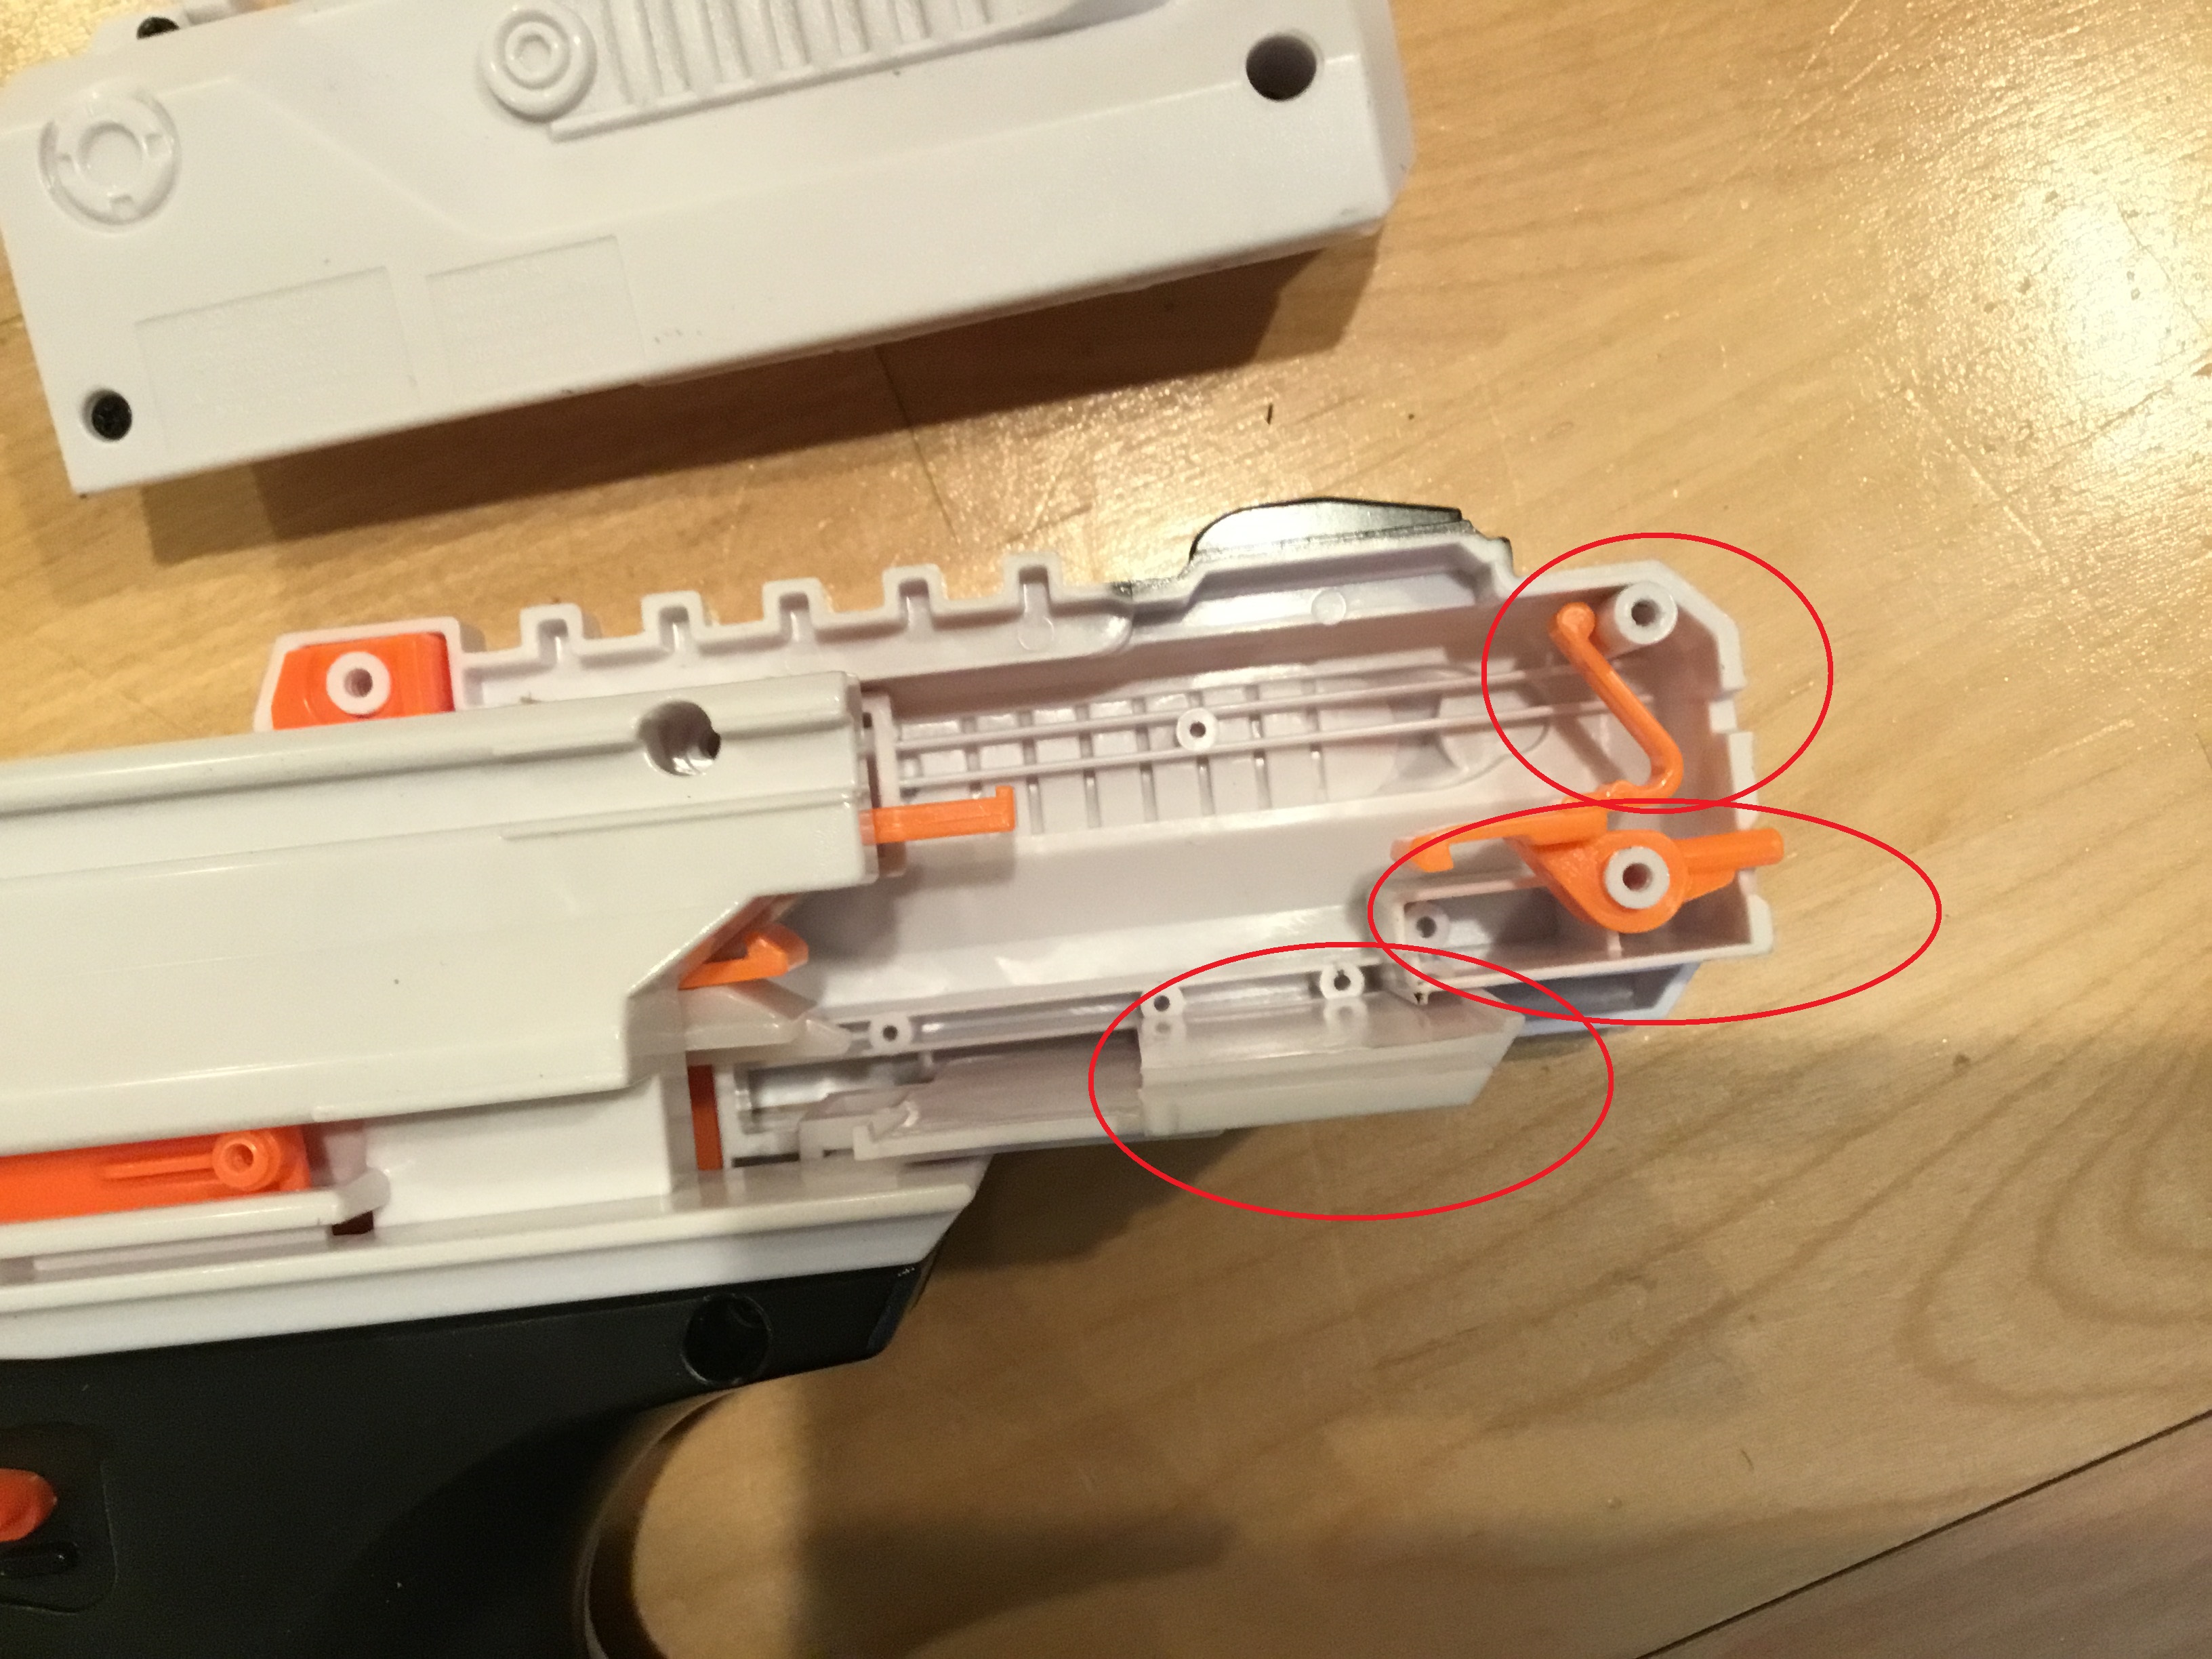 Set these parts aside and prepare to insert the SSWI T-Pull
  Insert EXACTLY as shown below
  Press the Priming plate back in place and prepare to screw back in all four screws.
  Add some rival ammo, push the priming bar back in and go to war!
  Done!
Done!